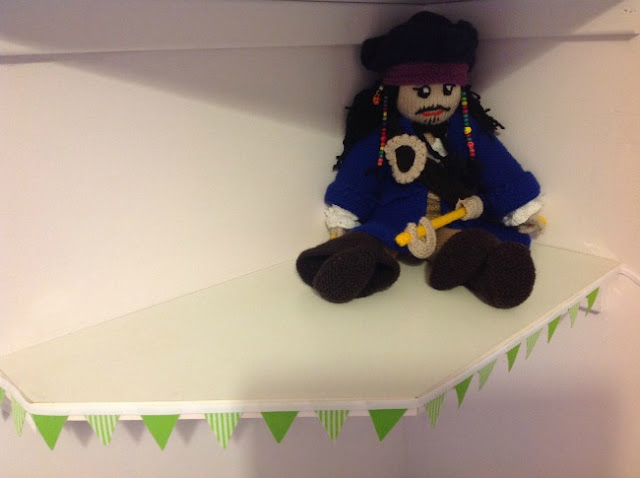
For the bunting you will need;
Bias binding the length of the shelf
Two complimentary scraps of fabric and the same amount of Bondaweb or equivalent
Hot iron
Glue gun (optional)
Sandwich the Bondaweb between the fabrics, wrong sides together and iron with a hot dry iron.
Make a template for the bunting. Just a small triangle with the top shorter than the sides. Cut the fabric into strips and place the template on the fabric. Cut triangles turning the triangle upside down so no fabric is wasted.
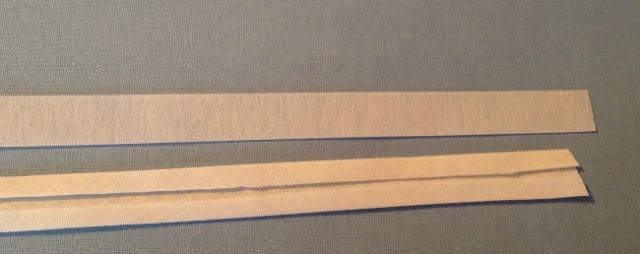
Cut a piece of Bondaweb the same width as the bias binding, iron onto the bias binding and carefully remove the paper
Position each triangle in the bias binding and fold, alternating fabrics and then iron. The Bondaweb will stick it all together.
Attach to the edge of the shelf. I used a glue gun.
Bias binding or tape the length of the shelf
Scraps of fabric in 4 different colours
Iron on heavy weight interfacing
Bondaweb or hot glue gun
Template of train and carriages (I got mine from Sweetclipart.com)
If using tape then miss this step, I only had bias binding so I used Bondaweb to fuse it together. Cut a piece of Bondaweb the same width as the bias binding, iron onto the bias binding and carefully remove the paper. then fold in half and iron.
Trace the carriages and train onto the interfacing. Remember the train will be reversed when cut out. The carriages are the same both ways.
Iron the interfacing onto the fabric
Cut out and arrange onto the tape.
If you have a glue gun stick each piece to the tape.
If not cut a small piece of Bondaweb and iron in place.
Attach the trim to the shelf. I used a glue gun.
I haven't decided what to put on the shelves yet, just Samuel Crowe looking a bit lonely.


No comments
Post a Comment