 |
| Tinkerbell |
It's as easy or difficult as you want it to be. If you just cut a face it will take about half an hour, more intricate designs like Tinkerbell take a bit longer. It took me about an hour and a half, but that was taking photo's at each step.
 |
| Stars and Moon |
So what do you need?
Pumpkin (large ones are easier to carve intricate details)
A pointed knife
A large spoon
An electric drill and bits (3,4 & 5mm for Tinkerbell. 8mm for Stars and Moon).
A kebab skewer or similar
A metal ice-cream scoop (optional)
A template eg. Tinkerbell (There are lots of printable templates on the internet)
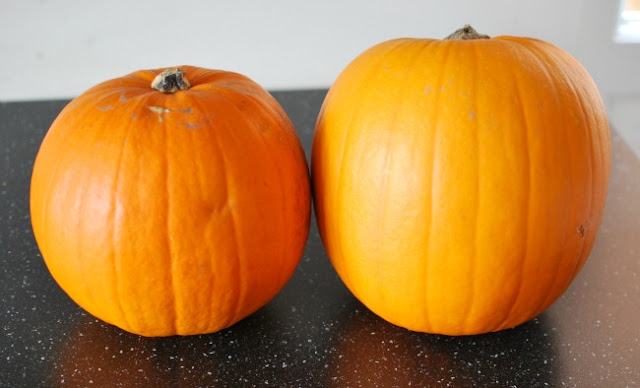
Choose your pumpkin, don't worry if they are not perfect. This year they are all a bit green and warty. I think it just adds to the Halloween fun!
 |
| A bit green and warty but great for carving |
 |
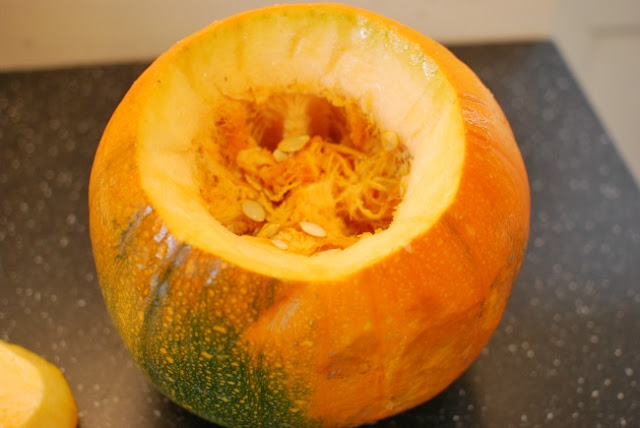
| Be sure to slant the knife when cutting the lid |
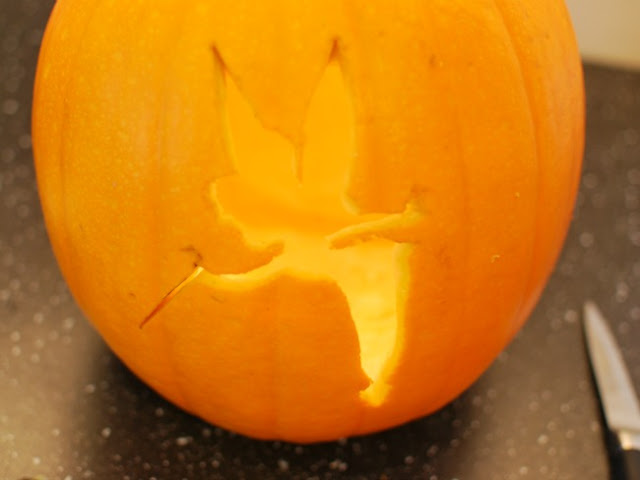
Do not try to cut the shape in one piece. Do it in bits.
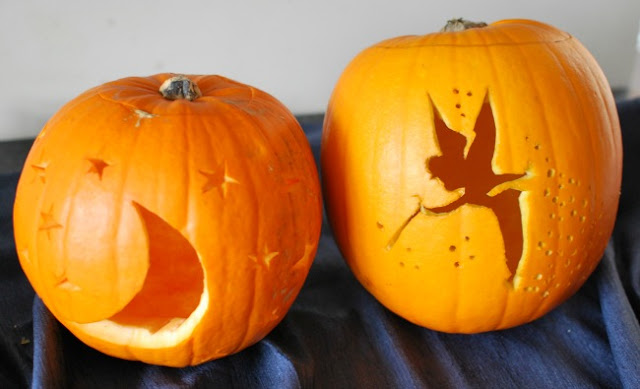
When Tinkerbell is cut out use a drill and different sized bits to make holes. These should "wave" down from Tinkerbell and then up again.
Using the ice cream scoop take out as much pulp as needed behind the stars so the holes can be clearly seen from inside.
For the Stars and Moon, drill holes in the middle of each Star and then cut out the shape. Again thin the pumpkin behind the stars.
Pop candle, wax or battery, inside and enjoy! I used a portable light for the photographs.
Happy Halloween!
Follow me on
Bloglovin | Facebook | Twitter
Bloglovin | Facebook | Twitter


Amazing!
ReplyDeleteThankyou. I loved carved pumpkins :-)
DeleteWow, love the Tinkerbell one! These are fab and a great step-by-step guide x
ReplyDeleteThankyou. Love their little faces when they trick and treat and see the pumpkins!
ReplyDeleteThey are both stunning!!! I love the Tinkerbell one the best though! x
ReplyDeleteAnd me! Can't wait to decorate the porch :-)
Delete